
The bath itself takes 10-15 minutes. The post-bath routine — drying, brushing, and skin care — takes 20-30 minutes more, and it’s where most owners stop putting in real effort. Which is unfortunate because this is the part that actually determines whether your dog ends up clean and comfortable or wet, itchy, and matted.
This guide covers the post-bath steps that matter, the mistakes that are easy to make, and a routine that takes about 25 minutes total but produces visible coat improvement.
The five things that matter after a bath: thorough rinsing (which technically ends the bath but most owners cut short), proper towel-drying (press, don’t rub), air or low-heat drying to completion, brushing the dry coat, and a quick paw and ear check. Skip any of these and the bath was half-finished.
Why post-bath matters so much
A clean dog with wet skin and a matted coat is in a worse state than a slightly dirty dog with healthy skin. Damp coats trap heat and moisture against the skin, which encourages bacterial and yeast growth. Wet mats lock together and pull on the skin. Residual shampoo causes more itching than the dirt you washed off. None of these are bath problems — they’re post-bath problems.
The post-bath routine isn’t just about looking good. It’s about whether the bath actually helped your dog.
Step 1: Finish the rinse you started
Technically the last step of the bath, but most owners under-rinse, so let’s cover it here. Shampoo residue is itchy, irritating, and can dull the coat as effectively as not bathing at all.
Rule of thumb: rinse for at least twice as long as you washed. Check the water running off — when it’s running completely clear, keep rinsing for another minute. Pay special attention to:
- Armpits — where shampoo gets trapped under the leg
- Belly and groin — where the coat is densest and shampoo collects
- The base of the tail — easy to miss when you’re focused on the body
- Behind the ears — where shampoo loves to hide in the fold
Step 2: Towel dry — press, don’t rub
The towel-drying mistake every first-time owner makes: aggressive rubbing. It feels efficient but it tangles long coats, irritates skin, and pulls hair out of double coats. Wet hair has roughly half the strength of dry hair — vigorous rubbing damages it.
The right technique:
Place the towel over the dog while they’re still in the tub. Wrap loosely. Lift out as a bundle. This prevents the dog from getting cold during the transition and prevents shake-off splash everywhere.
Through the towel, press your hands firmly against the dog’s coat. Squeeze water out by squeezing the towel against the dog. Work systematically from head to tail. This removes 60–70% of the water.
The first towel is saturated. Switch to a fresh one and repeat the press-squeeze technique. This removes most of the remaining water.
Legs are usually the wettest and the most forgotten. Wrap each leg in a corner of the towel and press.
Step 3: Air-dry or low-heat dry
Towel-drying gets you to about 30% moisture remaining. The rest needs to evaporate.
Three options:
Air-dry. Free, no equipment, but slow — can take an hour or more for thick coats. Fine in a warm room (70°F+). Don’t let an air-drying dog go outside in cold weather; their body temperature will drop. Brush gently every 10 minutes as they dry to prevent matting and distribute oils.
Low-heat blow-dry. Faster, gives more control over the finished coat. Use the cool or low-heat setting; never hot, which can burn skin and damage the coat. Hold the dryer 6-8 inches from the coat and keep it moving. Dry in the direction the hair grows.
Dedicated dog dryer. A high-velocity, low-heat dryer made for dogs. Pricey ($150-300+), but if you have a long-coated or double-coated dog and bathe regularly, the time savings add up.
The hot setting on a human hairdryer can reach 140°F+. That can burn dog skin and dry the coat to breakage. If using a human dryer, use cool or low only, and keep moving constantly. Better still: use a dryer designed for pets.
Step 4: Brush the dry coat
Brushing while the coat is still damp causes more breakage than brushing dry. Wait until the coat is mostly dry, then brush thoroughly.
Brushing post-bath does three useful things:
- Removes any loose dead hair that the bath loosened
- Distributes the freshly-rinsed natural oils that will start producing again, evenly across the coat
- Sets the coat to lay flat and look its best
Use a brush appropriate for your dog’s coat type:
- Bristle brush for short/single coats
- Slicker brush for double coats
- Pin brush + comb for long coats
- De-shedding tool for double coats during shed
- Human hairbrush (wrong bristle stiffness)
- Slicker on a wire coat (damages coat texture)
- De-shedding tool on a single coat (no undercoat to remove)
- Anything aggressive on damp hair
Step 5: The paw and ear check
Takes 60 seconds. Catches issues early when they’re trivial to fix.
Paws
Check between the toes — fur there traps moisture and a residual damp area between the toes can cause yeast issues. Dry between toes specifically with a soft towel corner. While you’re there, look at the pads for cracks, swelling, or anything else unusual.
Ears
Tilt each ear flap up and look in. If the ear canal looks wet, gently wipe the visible part with a cotton ball — don’t push anything into the canal. Trapped water in a dog’s ear is the leading cause of post-bath ear infections.
Cotton balls in the outer ear canal during the bath prevent water from getting deep into the ear. Remove them right after the bath. Combined with the post-bath ear check above, this dramatically reduces the chance of an ear infection after baths.
Optional: paw wax
If you live somewhere with winter salt or summer hot pavement, a thin coat of paw wax right after the bath and brush is the ideal time to apply it — the pads are clean and the wax absorbs well into dry, conditioned skin.
The 25-minute routine, in order
That’s it. Twenty-five minutes that, done consistently, will give you a dog with a healthier coat, less itching, and far fewer ear infections than the average dog of the same breed.
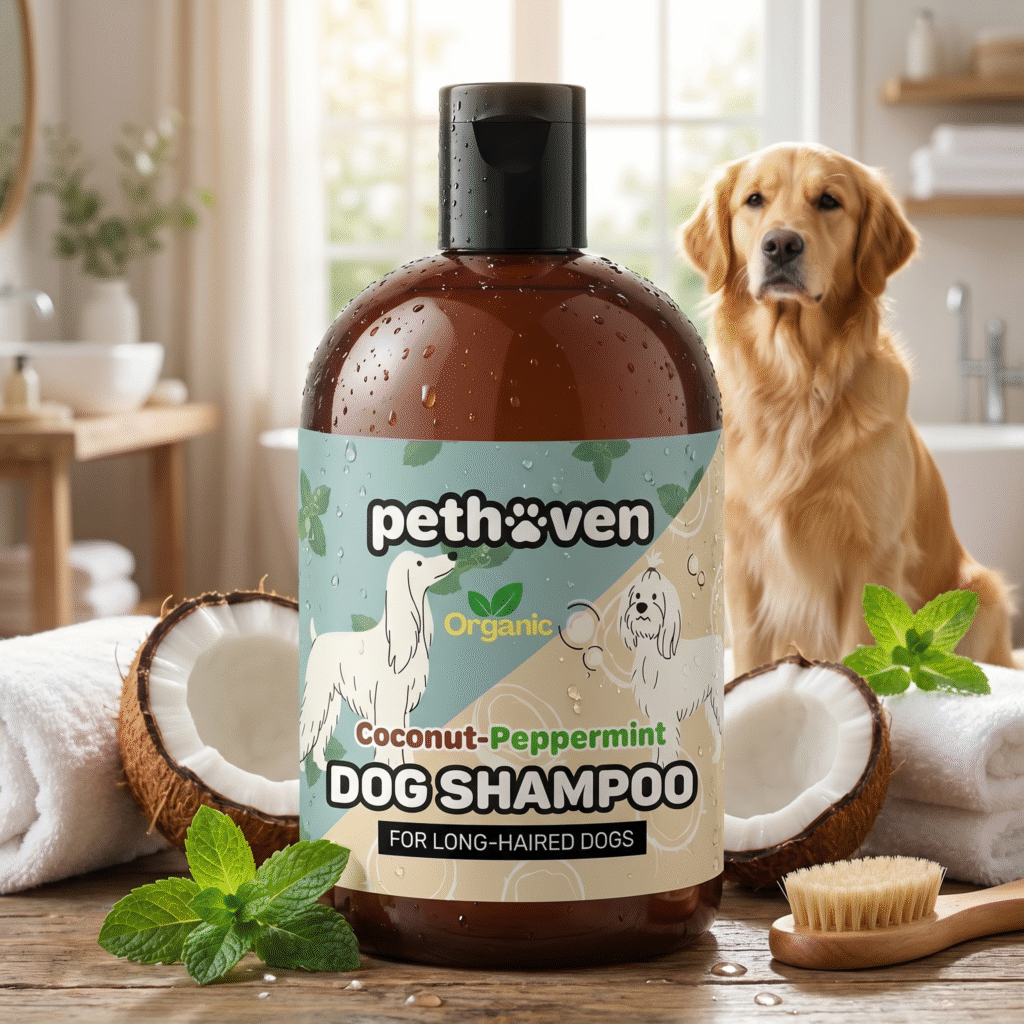 Coconut-Peppermint Shampoo" title="The Post-Bath Routine Most Owners Miss: Drying, Brushing, and Skin Care">
Common questions
Can I let my dog air-dry outside?
Only on warm days (70°F+). On cooler days the dog can chill quickly because they’re wet. In cold weather, never — wet dogs can develop hypothermia surprisingly fast. Always dry indoors in temperate-or-warm rooms.
What about leave-in conditioner sprays?
Helpful for long-coated and curly-coated dogs to reduce static and make brushing easier. Skip for short and double coats — they don’t need it and it can build up. Choose a spray with the same gentle-ingredient principles as your shampoo.
Should I brush during the bath?
Generally no. Use your fingers to work shampoo through the coat. Brushing wet hair causes more damage than brushing dry hair. Pre-bath brushing and post-bath brushing are the two productive times to brush.
My dog runs around like crazy after a bath. Is that bad?
Normal “zoomies” after a bath are fine — most dogs do it. They’re partly relief, partly the residual odd feeling of wet fur. The only concern is if they’re rubbing against carpet aggressively, which can be from residual shampoo itch. Make sure your rinse is thorough.